
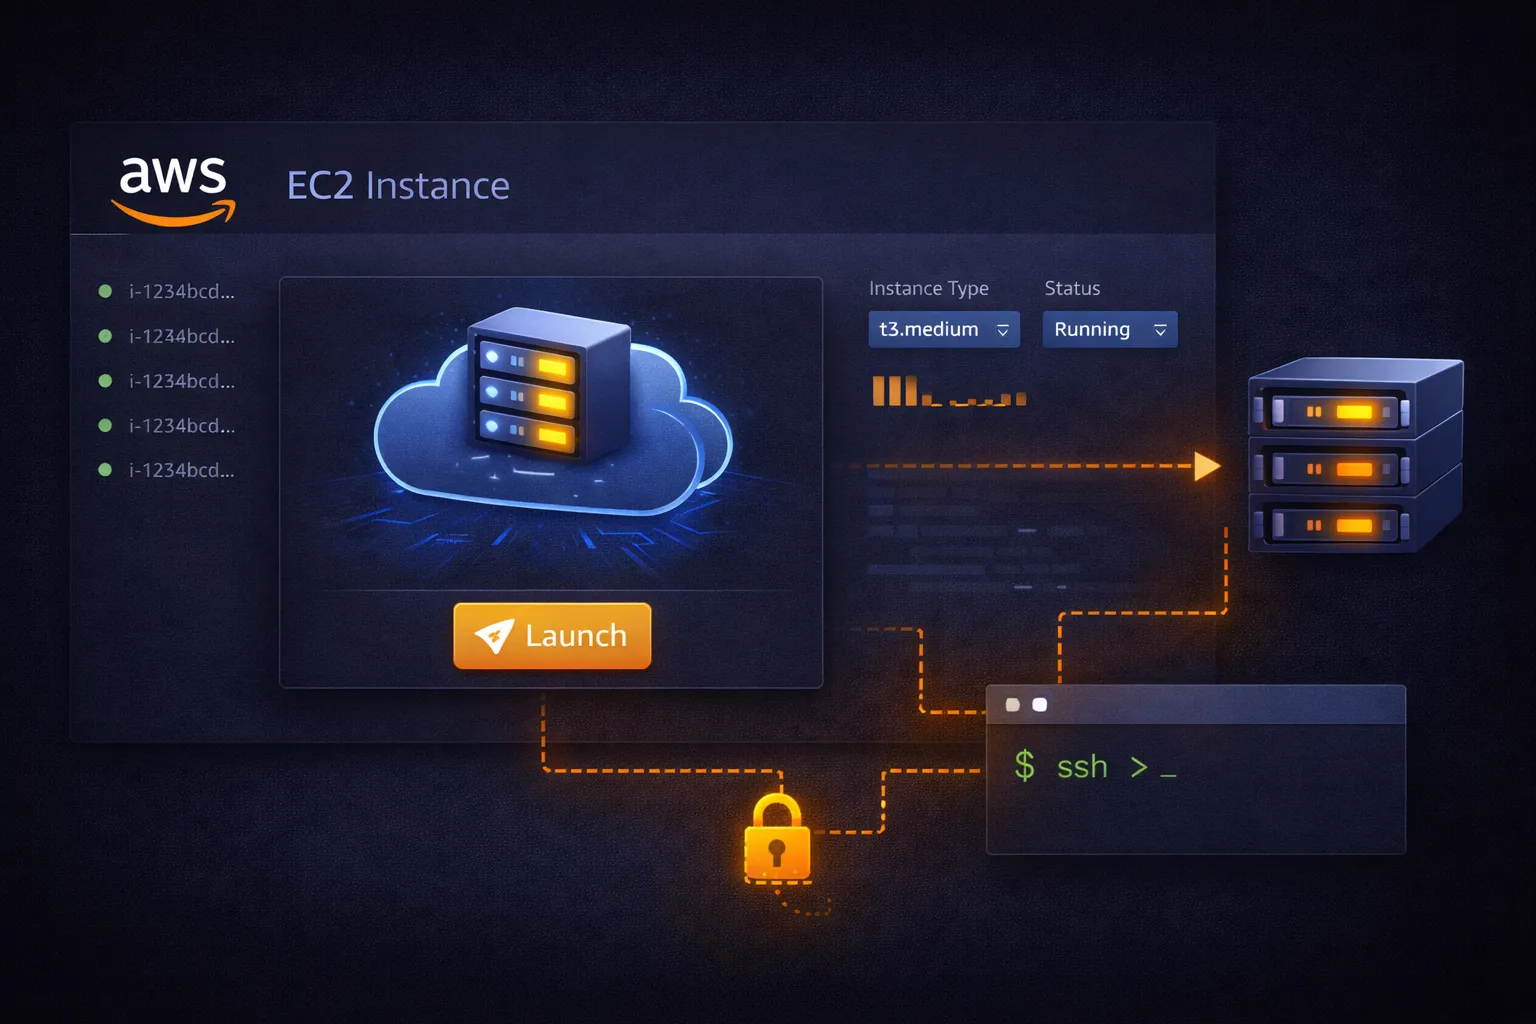
EC2 Getting Started: Launch Your First Virtual Server on AWS
Tarek Cheikh
Founder & AWS Cloud Architect
In the previous articles, we covered IAM, credentials, and Vault. All of that infrastructure exists to secure something — and that something is usually compute. Amazon EC2 (Elastic Compute Cloud) is where most AWS journeys begin: it lets you launch virtual servers in minutes and pay only for what you use.
This article walks through the complete process of launching your first EC2 instance, connecting to it, running a web server, and understanding the operational basics: security groups, key pairs, monitoring, and cost control.
What Is EC2?
EC2 provides virtual servers (called instances) running in AWS data centers. Instead of buying and maintaining physical hardware, you rent compute capacity on demand. An instance can be launched in under a minute, run for as long as you need, and be terminated when you are done. You are billed per second of usage, with a 60-second minimum.
Each instance runs a full operating system (Linux, Windows, or macOS) and behaves like a standalone server. You get root or administrator access and can install any software. The difference from a physical server is that EC2 instances are created from templates, can be duplicated instantly, and their capacity can be changed without physical intervention.
Instance Components
Every EC2 instance is built from four components:
- vCPUs: Virtual CPUs that determine processing power. Range from 1 to 192+ depending on instance type.
- Memory (RAM): Temporary storage for active data. Range from 0.5 GB to over 4 TB.
- Storage: Either instance store (temporary, fast, lost on stop/terminate) or EBS volumes (persistent, network-attached, survive instance stops).
- Networking: Virtual network interfaces with security groups (firewall rules), public or private IP addresses, and configurable bandwidth.
Instance Types
AWS offers hundreds of instance types organized into families. The naming convention encodes the family, generation, and size:
m5.xlarge = m (family: general purpose) + 5 (generation) + xlarge (size)
Higher generations offer better performance per dollar. Always prefer the latest generation available in your region.
Common Families
General Purpose (T, M series) — balanced compute, memory, and networking. Use for web servers, small databases, development environments.
t3.nano     1 vCPU    0.5 GB RAM    ~$3.80/month
t3.micro    1 vCPU    1 GB RAM      ~$7.59/month    Free tier eligible
t3.small    1 vCPU    2 GB RAM      ~$15.18/month
t3.medium   2 vCPU    4 GB RAM      ~$30.37/month
m5.large    2 vCPU    8 GB RAM      ~$70/month
T-series instances are burstable: they accumulate CPU credits during idle periods and spend them during traffic spikes. This makes them cost-effective for workloads with variable CPU demand.
Compute Optimized (C series) — high-performance CPUs for compute-intensive tasks. Use for batch processing, scientific modeling, high-performance web servers, gaming servers.
Memory Optimized (R, X series) — large memory capacity for data-intensive workloads. Use for in-memory databases (Redis, Memcached), real-time analytics, data processing.
Storage Optimized (I, D series) — high sequential read/write access to large datasets on local storage. Use for distributed file systems, data warehousing, log processing.
The Instance Lifecycle
PENDING --> RUNNING --> STOPPING --> STOPPED --> TERMINATING --> TERMINATED
(billed) (not billed) (gone)- Pending: Instance is launching (typically 30-60 seconds)
- Running: Active and billed. Your application runs here.
- Stopping/Stopped: Instance is shut down. EBS volumes are preserved but compute is not billed. You can restart it later.
- Terminating/Terminated: Instance is permanently destroyed. EBS volumes are deleted by default (configurable).
Important: data on instance store volumes is lost when an instance stops or terminates. Only EBS-backed data persists across stops.
Free Tier
New AWS accounts get 750 hours per month of t3.micro (or t2.micro, depending on region) for the first 12 months. That is enough to run one instance continuously for free. The 750 hours are shared across all t3.micro/t2.micro instances in the account — running two instances simultaneously uses 2 hours per hour of wall clock time.
After the free tier expires, a t3.micro costs approximately $0.0104/hour ($7.59/month for 24/7 operation).
Step-by-Step: Launch Your First Instance
Prerequisites
- AWS account with the AWS CLI installed and configured (covered in the developer setup article)
- IAM user with EC2 permissions (
ec2:RunInstances,ec2:DescribeInstances,ec2:CreateKeyPair,ec2:CreateSecurityGroup,ec2:AuthorizeSecurityGroupIngress,ec2:StartInstances,ec2:StopInstances,ec2:TerminateInstances,ec2:CreateTags)
Step 1: Choose an AMI
An AMI (Amazon Machine Image) is a template that contains the operating system and pre-installed software. When you launch an instance, AWS creates a copy of the AMI on the instance's storage volume.
Common choices:
- Amazon Linux 2023 — AWS-optimized distribution. Free, no licensing fees. Best integration with AWS services. This is the current recommended choice for new deployments.
- Amazon Linux 2 — Previous generation, still widely used. Free. Approaching end of standard support.
- Ubuntu Server — Popular general-purpose Linux. Free. Large community and extensive package repository.
- Windows Server — Includes licensing fees on top of compute costs (~$0.007/hour for Windows Server 2022). Required for .NET Framework applications.
- Red Hat Enterprise Linux — Enterprise Linux with commercial support. Additional licensing cost (~$0.09/hour).
For this tutorial, use Amazon Linux 2023 (free tier eligible, AWS-optimized).
Step 2: Choose Instance Type
Select t3.micro (1 vCPU, 1 GB RAM). It is free tier eligible and sufficient for learning and small applications.
Step 3: Configure Network Settings
- VPC: Use the default VPC
- Subnet: Use a default subnet
- Auto-assign Public IP: Enable (required for SSH access from outside AWS)
Step 4: Configure Storage
- Root volume: 8 GB, gp3 (General Purpose SSD)
- Delete on Termination: Yes
Storage types available:
- gp3: General purpose SSD. 3,000 IOPS baseline, cost-effective. Best default choice.
- io2: Provisioned IOPS SSD. For databases requiring consistent I/O performance.
- st1: Throughput-optimized HDD. For sequential workloads like log processing.
- sc1: Cold HDD. For infrequent access.
Step 5: Add Tags
Tags are key-value pairs for organizing and tracking resources. At minimum, add:
Name          MyFirstInstance
Environment   Learning
Owner         your-name
Tags are critical for cost tracking (filter your AWS bill by tag), automation (scripts that stop all "Development" instances at night), and organizational compliance.
Step 6: Configure Security Group
A security group is a stateful firewall that controls inbound and outbound traffic to your instance. By default, all inbound traffic is blocked and all outbound traffic is allowed.
Create a new security group with these rules:
Inbound Rules:
  SSH    TCP    22    Your IP (/32)     "SSH access from my location"
  HTTP   TCP    80    Your IP (/32)     "HTTP access for testing"
Never open SSH (port 22) to 0.0.0.0/0. Automated bots continuously scan the internet for open SSH ports and will begin brute-force attempts within minutes. Always restrict SSH to your specific IP address or a known range.
Security group properties:
- Stateful: If you allow an inbound request, the response is automatically allowed outbound (and vice versa). You do not need separate rules for request and response.
- Allow-only: You can only create allow rules, not deny rules. Any traffic not explicitly allowed is denied.
- Instance-level: Each instance can have one or more security groups.
A typical multi-tier architecture uses chained security groups:
Web-Tier-SG:       Port 80/443 from internet (via load balancer)
App-Tier-SG:       Port 8080 from Web-Tier-SG only
Database-Tier-SG:  Port 3306 from App-Tier-SG only
Each tier can only communicate with its adjacent tier, limiting the blast radius of a compromise.
Step 7: Create a Key Pair
Key pairs provide SSH access to your instance using public-key cryptography instead of passwords.
- Public key: Stored on the EC2 instance (acts as the lock)
- Private key: Downloaded to your computer (acts as the key)
Create a key pair named MyFirstKeyPair (RSA, .pem format). The private key file downloads immediately and cannot be downloaded again. If you lose it, you lose SSH access to the instance.
# Move the key to your SSH directory
mv ~/Downloads/MyFirstKeyPair.pem ~/.ssh/

# Set permissions - SSH refuses keys with loose permissions
chmod 400 ~/.ssh/MyFirstKeyPair.pem
The chmod 400 sets the file to read-only by the owner. SSH will reject key files that are readable by group or others, as a security measure against accidental exposure.
Step 8: Launch
Review the configuration and click Launch. The instance transitions from Pending to Running in 30-60 seconds.
Connecting to Your Instance
SSH from Linux or macOS
# Connect to your instance
ssh -i ~/.ssh/MyFirstKeyPair.pem ec2-user@YOUR-INSTANCE-PUBLIC-IP

# First connection asks to verify the host fingerprint - type "yes"
Find the public IP in the EC2 console: select your instance and look for "Public IPv4 address" in the details panel.
SSH from Windows
Use Windows Subsystem for Linux (WSL) with the same SSH command above, or use PuTTY with the key converted to .ppk format via PuTTYgen.
Default Users by AMI
Each AMI type has a different default username:
Amazon Linux 2 / 2023:   ec2-user
Ubuntu:                   ubuntu
Debian:                   admin
CentOS:                   centos
RHEL:                     ec2-user
SUSE:                     ec2-user
Windows:                  Administrator (via RDP, not SSH)
Using the wrong username is the most common SSH connection failure.
Connection Troubleshooting
If you cannot connect:
- Security group: Verify port 22 is open from your current IP address. Your IP may change if you switch networks.
- Key permissions: Run
chmod 400 ~/.ssh/MyFirstKeyPair.pem - Public IP: Verify the instance has a public IP assigned. Instances in private subnets without a public IP are not reachable directly.
- Instance state: The instance must be in the Running state.
Essential Commands
Once connected, explore your instance:
# System information
uname -a                        # Kernel and architecture
cat /proc/cpuinfo | grep processor | wc -l   # Number of vCPUs
free -h                         # Memory usage
df -h                           # Disk usage

# Package management (Amazon Linux 2023 uses dnf)
sudo dnf update -y              # Update all packages
sudo dnf install -y git wget curl htop   # Install common tools

# Package management (Amazon Linux 2 uses yum)
sudo yum update -y
sudo yum install -y git wget curl htop
Building a Web Server
Let us deploy a simple web server to verify your instance is accessible from the network.
Install and Start Apache
# Amazon Linux 2023
sudo dnf install -y httpd
sudo systemctl start httpd
sudo systemctl enable httpd

# Amazon Linux 2
sudo yum install -y httpd
sudo systemctl start httpd
sudo systemctl enable httpd

# Verify Apache is running
sudo systemctl status httpd
Create a Web Page
sudo tee /var/www/html/index.html > /dev/null <<'EOF'
<!DOCTYPE html>
<html>
<head>
    <title>My First EC2 Web Server</title>
    <style>
        body { font-family: sans-serif; text-align: center; padding: 50px; }
        h1 { color: #232f3e; }
    </style>
</head>
<body>
    <h1>My First EC2 Instance</h1>
    <p>This page is served from an Amazon EC2 instance.</p>
</body>
</html>
EOF
Test
Open your browser and navigate to http://YOUR-INSTANCE-PUBLIC-IP. If you see your page, the instance, Apache, and security group are all working correctly.
If the page does not load:
# Verify Apache is listening
sudo ss -tlnp | grep :80

# Test locally on the instance
curl http://localhost

# Check the security group allows HTTP from your IP
aws ec2 describe-security-groups --group-ids sg-your-id
Security Best Practices
Keep Packages Updated
# Regular updates
sudo dnf update -y

# Enable automatic security updates (Amazon Linux 2023)
sudo dnf install -y dnf-automatic
sudo systemctl enable --now dnf-automatic-install.timer
SSH Hardening
# Disable password authentication (key-only access)
sudo sed -i 's/PasswordAuthentication yes/PasswordAuthentication no/' /etc/ssh/sshd_config

# Disable root login
sudo sed -i 's/#PermitRootLogin yes/PermitRootLogin no/' /etc/ssh/sshd_config

# Restart SSH
sudo systemctl restart sshd
Install Fail2ban
Fail2ban monitors log files for repeated authentication failures and temporarily blocks the offending IP addresses:
# Amazon Linux 2023
sudo dnf install -y fail2ban

# Amazon Linux 2
sudo amazon-linux-extras install epel -y
sudo yum install -y fail2ban

# Configure
sudo tee /etc/fail2ban/jail.local > /dev/null <<'EOF'
[DEFAULT]
bantime = 600
findtime = 600
maxretry = 3

[sshd]
enabled = true
port = ssh
logpath = /var/log/secure
EOF

sudo systemctl enable --now fail2ban
With this configuration, any IP address that fails SSH authentication 3 times within 10 minutes is blocked for 10 minutes.
Managing Instances from the CLI
# List running instances
aws ec2 describe-instances \
    --filters "Name=instance-state-name,Values=running" \
    --query "Reservations[].Instances[].{ID:InstanceId,Type:InstanceType,IP:PublicIpAddress,Name:Tags[?Key=='Name']|[0].Value}" \
    --output table

# Stop an instance (preserves EBS, stops billing for compute)
aws ec2 stop-instances --instance-ids i-1234567890abcdef0

# Start a stopped instance
aws ec2 start-instances --instance-ids i-1234567890abcdef0

# Reboot
aws ec2 reboot-instances --instance-ids i-1234567890abcdef0

# Terminate (permanent deletion)
aws ec2 terminate-instances --instance-ids i-1234567890abcdef0
Monitoring with CloudWatch
CloudWatch automatically collects metrics from every EC2 instance at no additional cost (basic monitoring at 5-minute intervals).
Available Metrics
- CPUUtilization: Percentage of allocated vCPU capacity in use
- NetworkIn / NetworkOut: Bytes transferred
- DiskReadOps / DiskWriteOps: I/O operations
- StatusCheckFailed: Instance health (0 = healthy, 1 = failed)
- CPUCreditBalance: Available burst credits for T-series instances
View metrics in the EC2 console by selecting your instance and clicking the Monitoring tab.
Setting Up Alarms
# Create an alarm that triggers when CPU exceeds 80% for 10 minutes
aws cloudwatch put-metric-alarm \
    --alarm-name "High-CPU-MyFirstInstance" \
    --alarm-description "CPU exceeds 80 percent" \
    --metric-name CPUUtilization \
    --namespace AWS/EC2 \
    --statistic Average \
    --period 300 \
    --threshold 80 \
    --comparison-operator GreaterThanThreshold \
    --evaluation-periods 2 \
    --dimensions Name=InstanceId,Value=i-1234567890abcdef0 \
    --alarm-actions arn:aws:sns:us-east-1:123456789012:my-alerts
This alarm checks CPU utilization every 5 minutes. If the average exceeds 80% for two consecutive periods (10 minutes), it sends a notification via SNS.
Cost Management
What You Pay For
- Instance hours: Billed per second, 60-second minimum
- EBS storage: Charged per GB per month (even when instance is stopped)
- Data transfer: Inbound is free. Outbound to the internet is charged per GB.
- Elastic IPs: Free when attached to a running instance. Charged when unattached or attached to a stopped instance.
Right-Sizing
If your instance consistently uses less than 40% CPU, consider a smaller instance type. If it regularly exceeds 80%, consider a larger one. CloudWatch metrics provide this data.
Stop vs Terminate
If you are not using an instance, stop it to preserve the EBS volume while halting compute charges. Terminate only when you no longer need the data.
Billing Alerts
Set up billing alerts to avoid surprises:
# Create SNS topic for billing notifications
aws sns create-topic --name billing-alerts

# Subscribe your email
aws sns subscribe \
    --topic-arn arn:aws:sns:us-east-1:123456789012:billing-alerts \
    --protocol email \
    --notification-endpoint your-email@example.com

# Create billing alarm at $10
aws cloudwatch put-metric-alarm \
    --alarm-name "Monthly-Billing-Alert" \
    --alarm-description "Monthly bill exceeds 10 USD" \
    --metric-name EstimatedCharges \
    --namespace AWS/Billing \
    --statistic Maximum \
    --period 86400 \
    --threshold 10 \
    --comparison-operator GreaterThanThreshold \
    --evaluation-periods 1 \
    --alarm-actions arn:aws:sns:us-east-1:123456789012:billing-alerts
For learning accounts, set the threshold at $5-10. Create multiple alarms at 50%, 80%, and 100% of your budget for progressive warnings.
Backup and Recovery
Creating AMIs
An AMI (Amazon Machine Image) captures the complete state of your instance, including the operating system, installed software, and configuration. You can launch new instances from an AMI to create exact copies.
# Create an AMI from a running instance
aws ec2 create-image \
    --instance-id i-1234567890abcdef0 \
    --name "MyFirstInstance-Backup-$(date +%Y%m%d)" \
    --description "Backup of my first EC2 instance"
Use cases: disaster recovery (launch a replacement if the original fails), horizontal scaling (launch multiple copies behind a load balancer), and environment replication (create staging from production).
Troubleshooting
Cannot Connect via SSH
- Security group does not allow port 22 from your current IP
- Key pair file has wrong permissions (must be 400)
- Wrong username for the AMI type
- Instance has no public IP (check subnet settings)
- Instance is not in the Running state
Instance Stuck in Pending
- Insufficient capacity in the availability zone — try a different AZ
- Service quotas reached — check your EC2 limits in the Service Quotas console
Web Server Not Accessible
- Security group missing HTTP rule (port 80)
- Apache/Nginx not running (
sudo systemctl status httpd) - Instance in private subnet without public IP
Storage Full
# Check disk usage
df -h

# Find large files
sudo find / -type f -size +100M 2>/dev/null

# Resize EBS volume (requires extending the filesystem after)
aws ec2 modify-volume --volume-id vol-12345678 --size 20
# Then on the instance:
sudo growpart /dev/xvda 1
sudo xfs_growfs /
Key Takeaways
- EC2 instances are virtual servers you can launch in under a minute and pay for by the second
- Instance types are organized by family (general purpose, compute, memory, storage optimized) — choose based on your workload profile
- T-series burstable instances are cost-effective for variable workloads and are free tier eligible
- Security groups are stateful firewalls — never open SSH to 0.0.0.0/0
- Key pairs provide SSH access — protect your private key file and set permissions to 400
- Use CloudWatch metrics and alarms to monitor CPU, network, and instance health
- Set up billing alerts immediately to avoid surprise charges
- Stop instances you are not using to save on compute costs (EBS charges still apply)
- Create AMIs as backups before making significant changes
In the next article, we will explore EC2 instance types in depth — how to evaluate workload requirements and choose the right instance family, generation, and size for any use case.
Go Deeper: The State of AWS Security 2026
This article is just the start. Get the full picture with our free whitepaper - 8 chapters covering IAM, S3, VPC, monitoring, agentic AI security, compliance, and a prioritized action plan with 50+ CLI commands.
Toc Consulting: AWS Security & Cloud Architecture
Want expert help with AWS?
Our team helps engineering teams secure and architect AWS the right way: assessment in week one, a prioritized action plan in week two.
More Articles
Setting Up Your AWS Developer Environment with Python Automation
A practical guide to configuring AWS CLI v2, Boto3, and secure credential management for professional cloud development.
Chaos Engineering on AWS: Running a Program with GameDays and Continuous Chaos
One experiment is a demo. A program is what builds resilience. Turn FIS experiments into an ongoing practice: the resilience flywheel, GameDays, continuous automated chaos on a schedule and in CI/CD, and AWS Resilience Hub. Includes a real, validated EventBridge Scheduler setup and the jsonencode gotcha that makes a recurring schedule silently run only once.
Chaos Engineering on AWS: Multi-Region Disaster Recovery and Measuring Real RPO
Stop talking about disaster recovery and measure it. Pause DynamoDB global table replication with AWS FIS while a live two-Region application keeps writing, then count exactly how many records the surviving Region cannot see. Real Terraform, real RPO, real recovery time.